Live Chat Software by Kayako |
Knowledgebase
|
Moodle Dashboard: Adding an Image for a Course Listing (Faculty/Staff)
Posted by Christy Mattingly on 13 November 2019 12:45 PM
|
|
|
Level up the Moodle Dashboard for students and make courses stand out so they are easier to find by adding customized photos for each course. By default, Moodle course images show up as a monochrome colored geometric pattern. For example:
Instructors can customize the image by insert a picture for the course so it displays as such (image appears as shown in "Summary View" instead of "Card View" to show the full course name and description):
(Faculty) For additional help with Moodle, visit the Faculty Moodle Resources site at http://go.augsburg.edu/fmr. (keywords: picture, pictures, images, design)
http://go.augsburg.edu/dbimage Last Modified: 2019/11/13 | |
|
|


 to open the blocks.
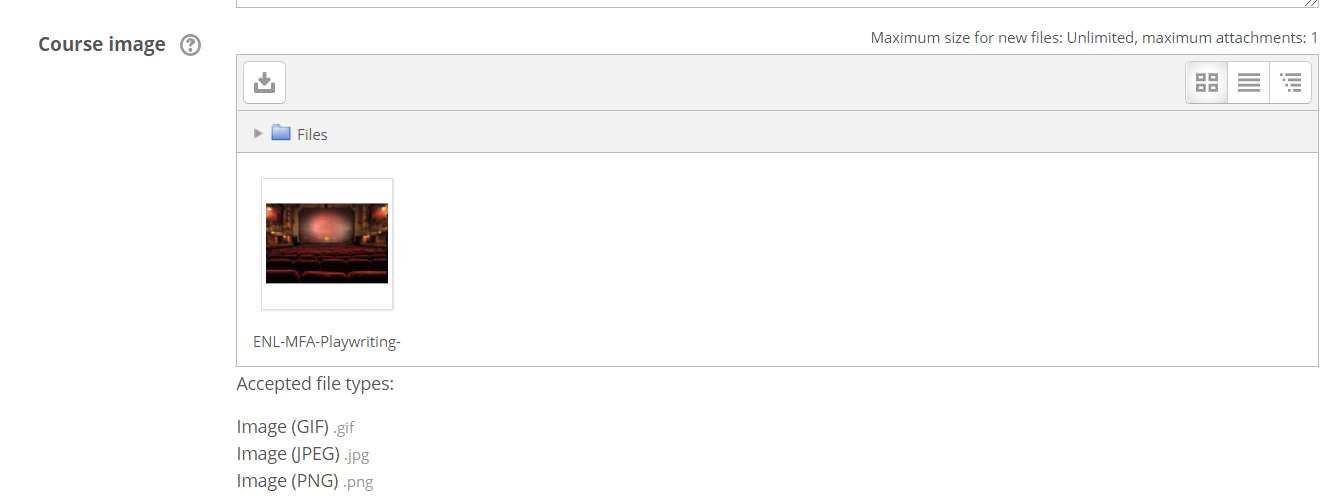
Comments (0)