|
H5P Moodle Activity: Interactive Video (Faculty)
Posted by Christy Mattingly on 07 December 2016 09:57 AM
|
|
Annotate web-based videos (YouTubes) or video files (WebM or mp4) by adding interactive elements such as quiz questions. Scores are automatically integrated into the Moodle gradebook. This is an asynchronous activity that will enable you to make a passive activity (e.g., watching a video) into an interactive learning experience. [NOTE: This article focuses on creating an interactive video. H5P is actually a collection of activities for creating formative assessments (although there may be more versatile tools available for creating those activities). Feel free to contact a member of the E-Learning Team to discuss what tools are best for creating a particular learning experience.
- Turn editing on for your Moodle course. Expand the topic section where the video will be inserted, click the blue "Add an activity or resource" button, click "H5P Interactive Content, and then "Add."
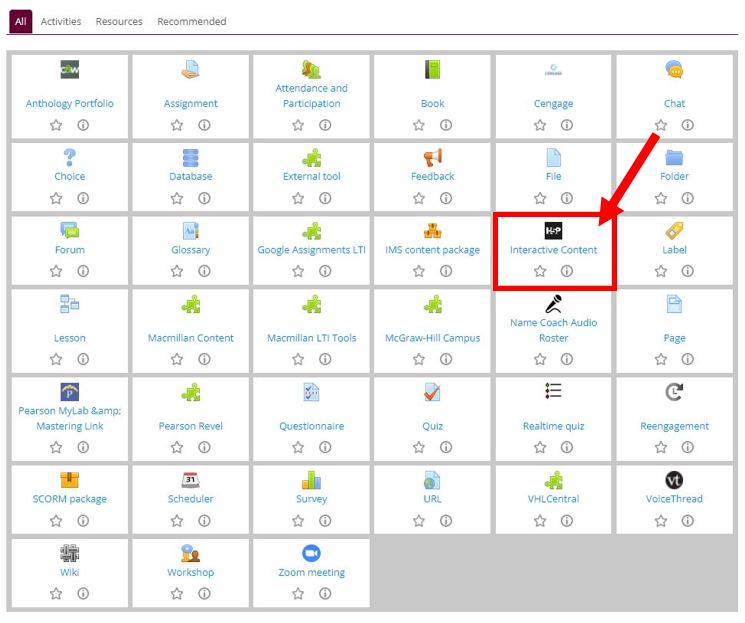
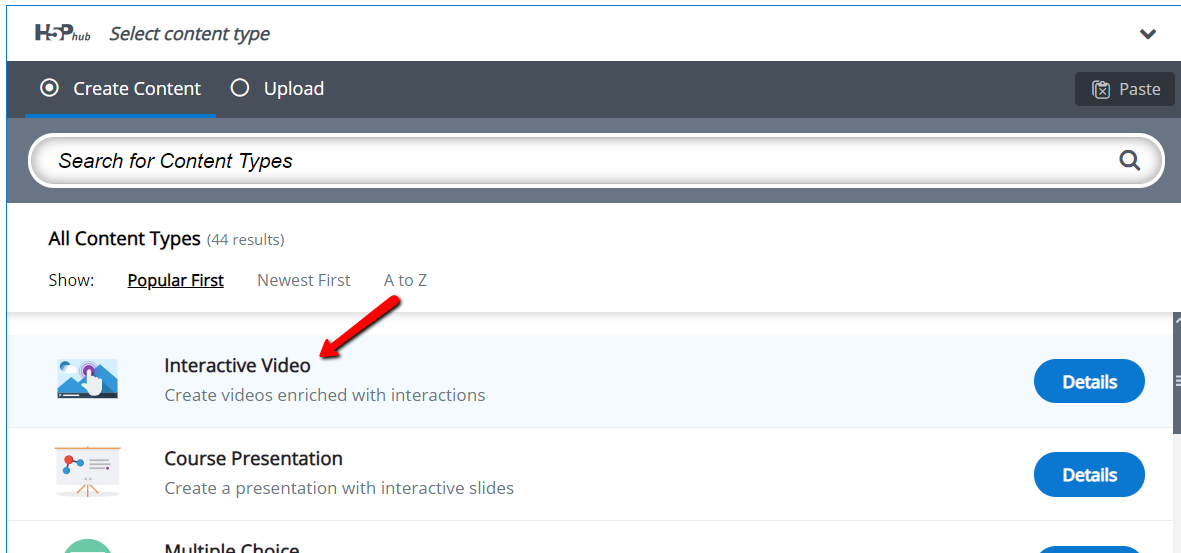
- Select "Interactive Video" from the list.
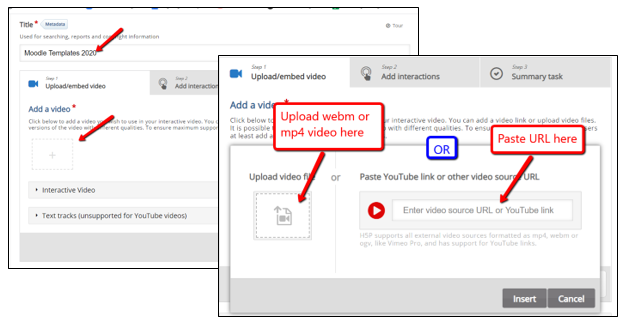
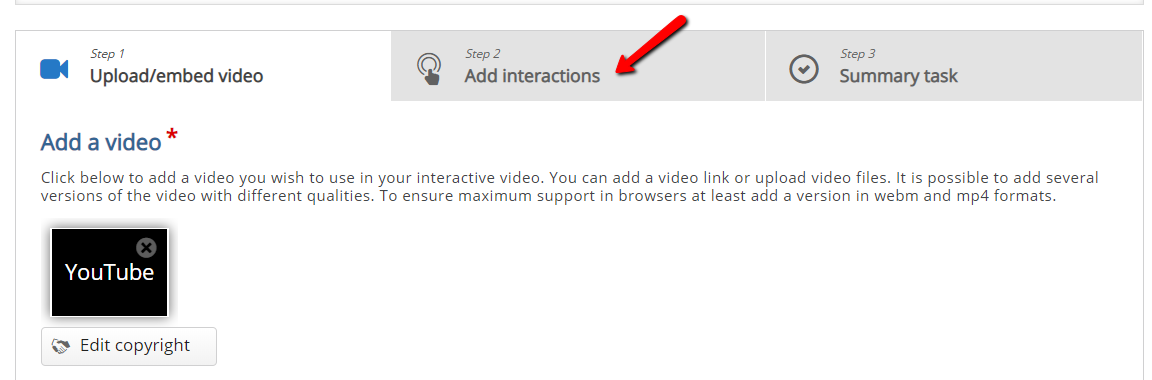
- Name the video and click the + sign in (step 1) to add the video. You can upload a file or paste a URL and click "Insert." [NOTE: because video files are extremely large, we recommend that you load the video into YouTube and use a URL rather than the file upload.] The default max points for an Interactive video is 10 points. If you want to change this, scroll down and click "Grade." (NOTE: Moodle will do the calculations for you if the questions in the video do not add up to 10.]
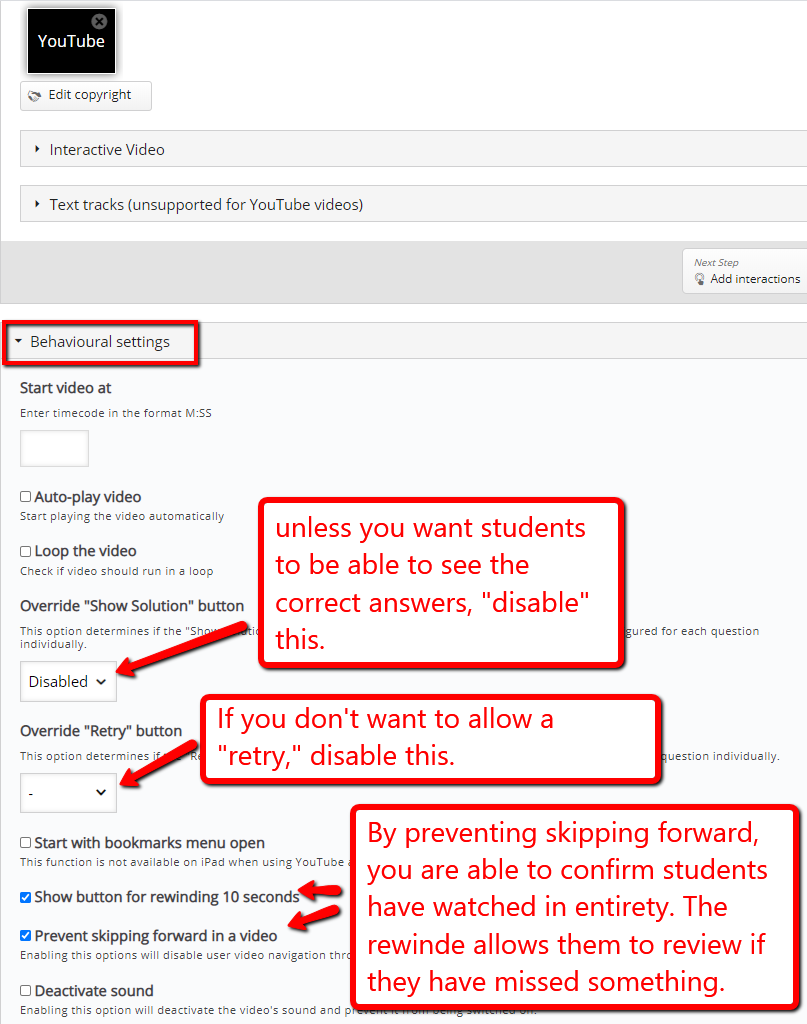
- Once the video uploads, open the "Behavioral Settings" category. You might want to adjust the following settings:
-disable the "show solution" button (if you don't want students to be able to access the correct answer).
-If your assessment is summative (rather than formative) you may also want to disable the "retry" button.
-Check the "rewind 10 seconds" button (so students can review anything they might have missed).
-Check the "prevent skipping" button (if you are using the tool to confirm students have watched the entire video).
- Click "2. Add Interactions" tab at the top of this section to insert quiz questions at certain points during the video. Play video and pause at the point when a question is desired.
- Select the type of question (Multiple Choice, T/F, Fill in blanks) from the toolbar.

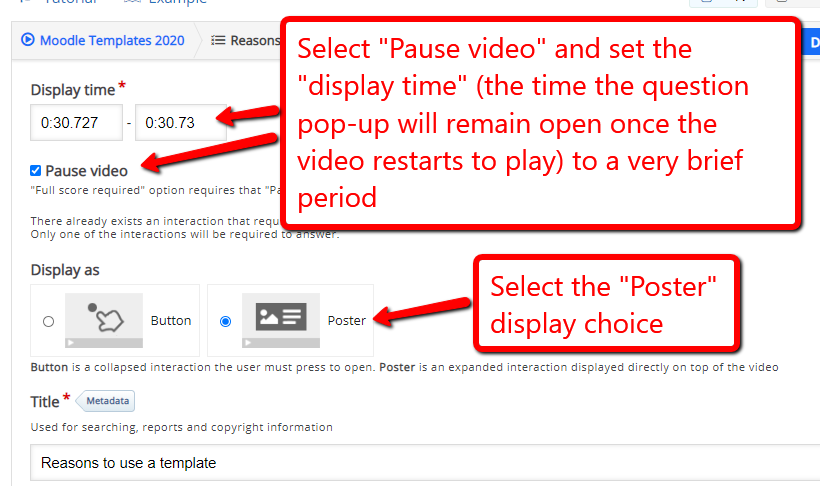
- Determine how your question will display. You will probably want to make the following choices:
-Pause the video (to allow students to answer the question). Students will select "continue" to restart video after answering
-Set the display time as very brief. This indicates how long question box will remain visible ONCE THE VIDEO RESTARTS
-Select "Poster" display so the question "pops up" (this will mean fewer clicks for students)
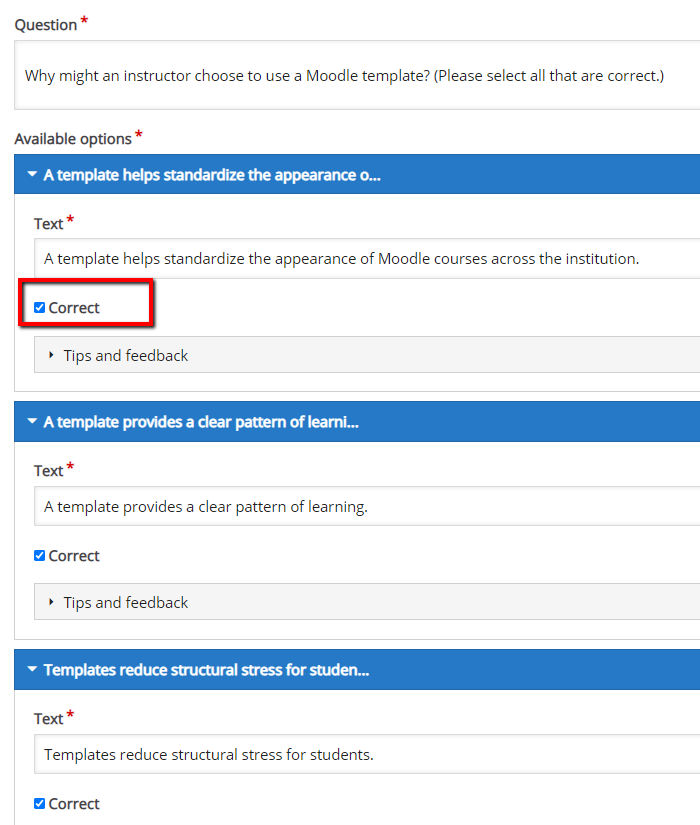
- Scroll down to the required question and answer fields, enter your question and answers. Check the "Correct" box next to the right answer choice. [NOTE: For multiple-choice questions, you can have more than one correct answer, but be sure to indicate this in the question.] Click "Done."
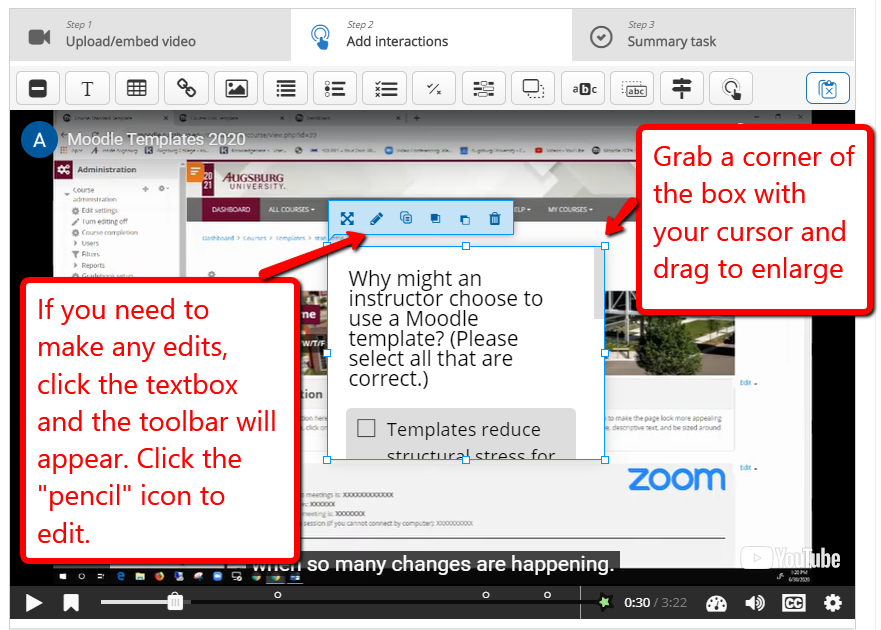
- The question "poster" will appear. Enlarge it (grab a corner of the box with your cursor and drag to enlarge) so that the full question is visible. Then center the textbox on the screen. To make any edits, click on the question textbox and the toolbar will appear. Click the pencil icon to edit. Click the X to make the toolbar disappear
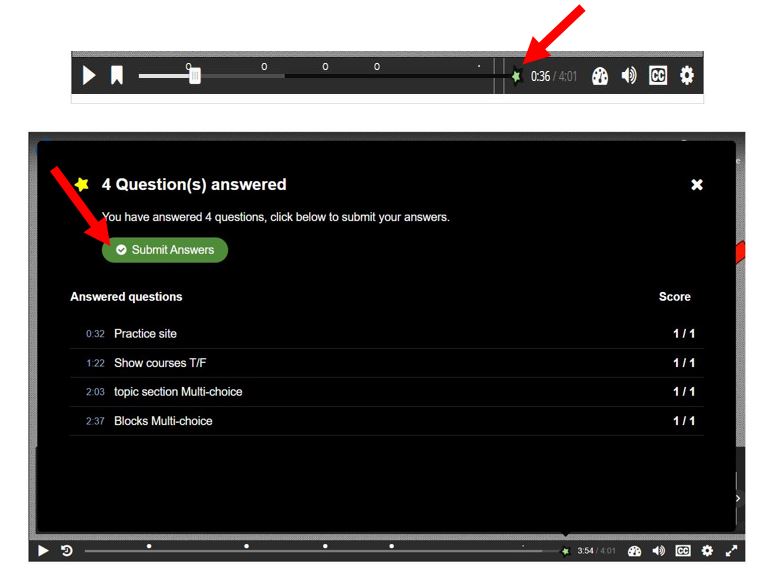
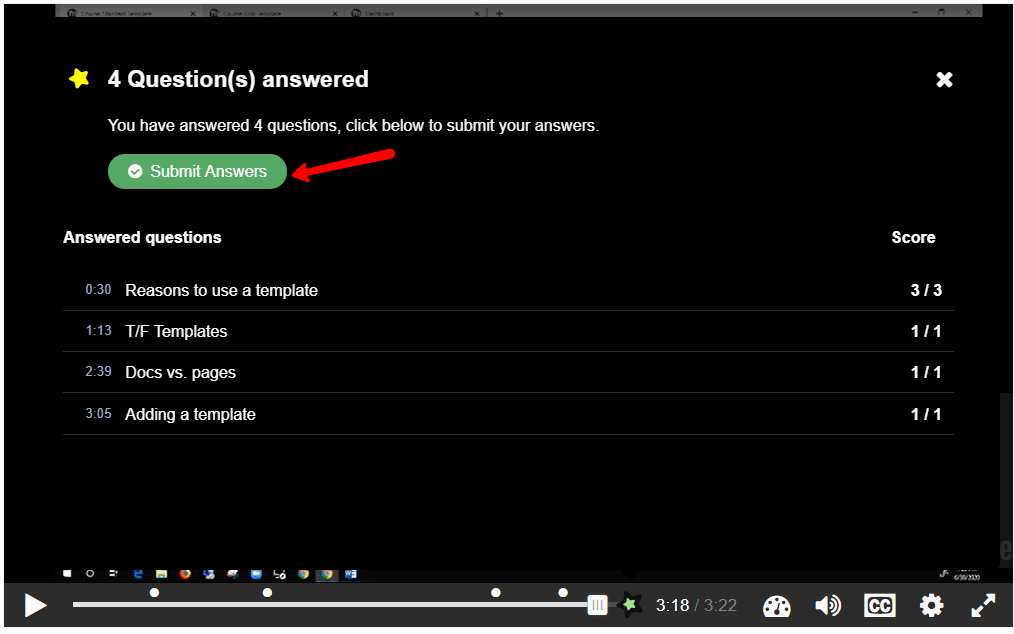
- We strongly suggest you SKIP the "Step 3. Summary Task" (this is not a graded step). Finally, H5P automatically adds the green star at the conclusion of the video to create a "Submit answers" box at the conclusion of the video so students can submit their answers to the Moodle gradebook.
- Scroll to the bottom of the page and select "Save and return to course" or "Save and display".
Student View
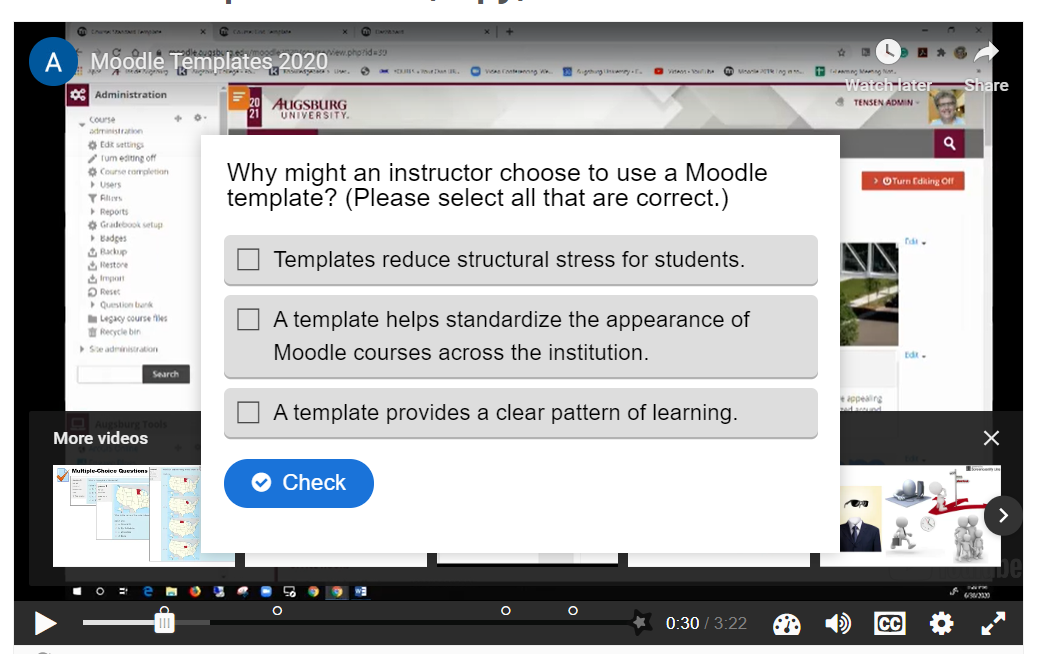
- Students will see white (hollow) circles above the player bar indicating where in the video the questions will appear.

- The video will pause and a question will pop up in these spots. Students will answer and click "Check," and Moodle will indicate whether the answer is correct or wrong. If you have allowed a "retry" students can try again. After the "Check", students will be prompted to "Continue."
- When students have answered all of the questions and viewed the entire video, a "Submission" box will open. Students click "Submit answers" and the score will be entered in the Moodle gradebook.
http://go.augsburg.edu/h5p
(Faculty) For additional help with Moodle, visit the Faculty Moodle Resources site at http://go.augsburg.edu/fmr.
Last Modified: 2022/05/05
|
|