Creating a Wiki in Moodle
A wiki (http://en.wikipedia.org/wiki/Wiki) is a website that allows multiple authors to edit the content using a web browser. The Moodle Wiki module enables participants to work together on web pages to add, expand and change the content. Old versions are never deleted and can be restored.
This article explains how to set up a Wiki.
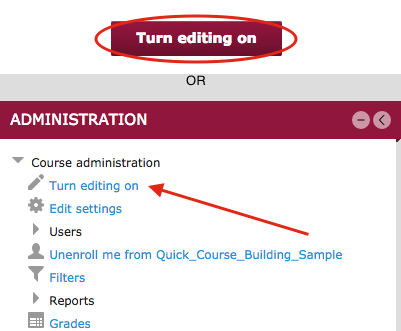
- In your moodle course, click the 'Turn Editing On' button located in the upper-right corner, or select 'Turn editing on' from the Settings block under Course administration.
- Choose 'Wiki' from the 'Add an Activity' drop-down in the course block in which you want the wiki to be located.

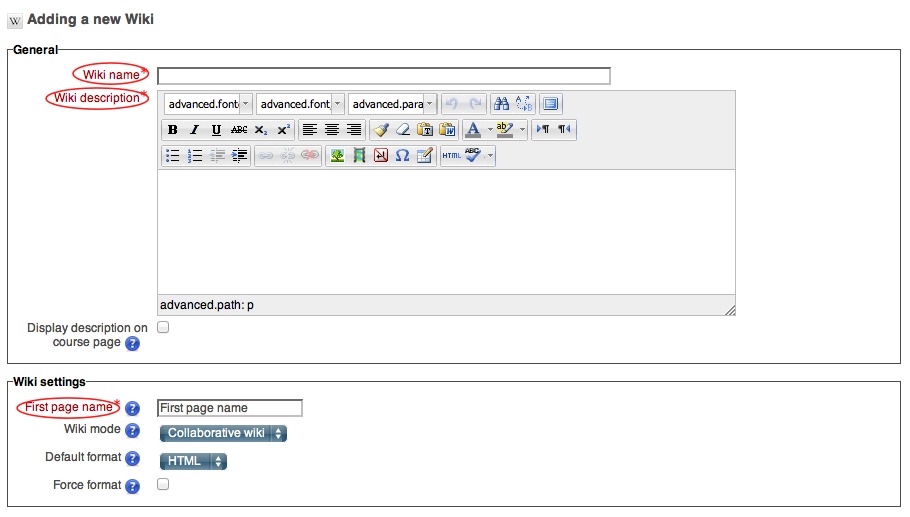
- Type in a title for the Wiki in 'Name'. Students will see this name on the course homepage.
- Type in a description of the wiki along with any specific instructions in the 'Summary'.
- Type in the Title of the first page for the wiki in the First Page box. This title will appear inside the wiki.
Setting Up Groups
- If you'd like to set up the wiki for groups, click the dropdown menu for 'Group mode' and select the type of group access you want to use:
- No groups: There are no sub groups, everyone is part of one big community
- Separate groups: Each group member can only see their own group, others are invisible
- Visible groups - Each group member works in their own group but can view others

- At the bottom of the page, click 'Save and return to course'
|