|
This knowledgebase article covers the following topics: set up your Augsburg Zoom account, connecting to meetings, and commonly used features of Zoom. The first time you connect to Zoom from a computer, you will be prompted to download and install the program. Follow the prompts as they appear on your screen.
Zoom Video Conferencing Setup:
Note: The first step is to go to the Augsburg Zoom site and sign in with to set up your Zoom account to be associated with your Augsburg account.
- The host of the meeting starts by logging into the Augsburg Zoom site or by installing and opening Zoom via the computer applications menu. The host will provide a link and meeting ID for participants to connect to the Zoom video conference.
- Connection options:
a. Connect via the link provided in email or the calendar invitation depending on how the host sent the link.
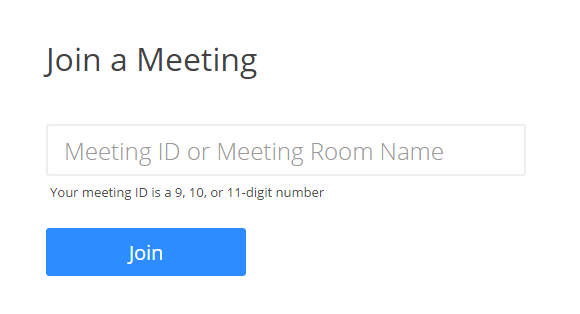
b. Connect by going to the Zoom site and entering the 9-digit Meeting ID number or Meeting Name.
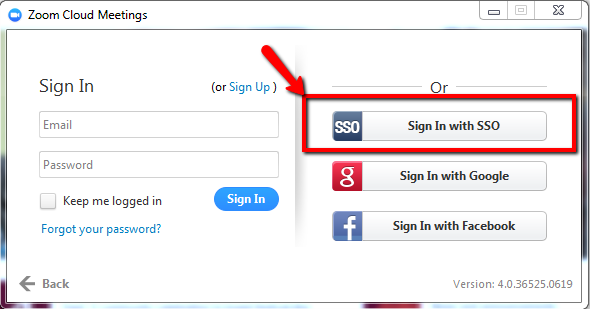
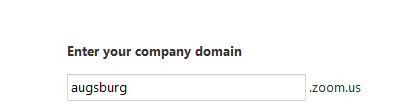
- The very first time you use Zoom on a computer, you will need to log in via the SSO (Single Sign On)"Login with SSO" option. If you see these prompts, choose the options as indicated below. Enter "augsburg" if the next field is blank.
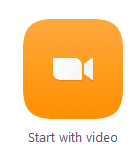
- Click "Start with video".
- Move the mouse pointer to the bottom of the screen to view the toolbar. If the toolbar hides, point the mouse at it to make it appear.

If sharing the screen, the toolbar moves to the top and looks slightly different.

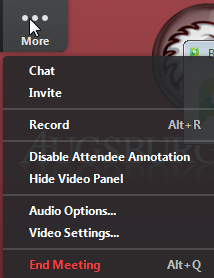
Click the  "Annotate" button to open the Annotation toolbar. Click the "More" button to see options such as Recording. "Annotate" button to open the Annotation toolbar. Click the "More" button to see options such as Recording.
- When sharing the screen as a Whiteboard, the Annotation toolbar becomes available.

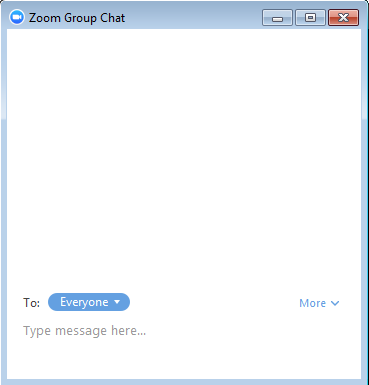
- The Chat pane can be helpful for collecting questions for the speaker or for using as a back-channel during a presentation.
- Raise Your Hand
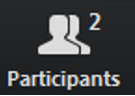
a. Click the "Participants" button to open the Participants pane.
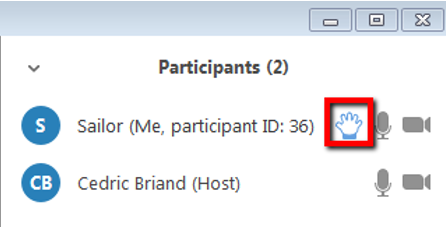
b. Select the "Raise Hand" link to indicate your desire to speak.
c. A hand will appear next to the participant name and the instructor will receive a visual cue that the hand is raised:
- Mute/Un-Mute the Microphone
 When the microphone is green, it is on. Click to turn it off (mute). When the microphone is green, it is on. Click to turn it off (mute).
 When the microphone displays with a red slashmark, click to turn on the mic (un-mute). When the microphone displays with a red slashmark, click to turn on the mic (un-mute).
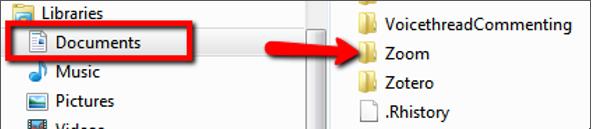
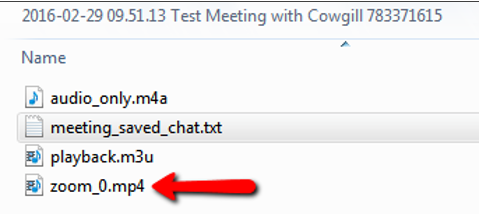
- Zoom recordings are automatically saved to your documents folder under \\Documents\Zoom. Make sure you start to record only when the presentation is ready, not as you are getting prepared. The recommended length of video recordings is between 1-10 minutes for content. Videos can be uploaded to Google Drive or YouTube (best option for closed captioning) to be shared. Note: Delete the video file off of the hard drive in classroom computers to avoid performance issues.
Links to other KB articles:
http://go.augsburg.edu/youtubecc (upload the recording to YouTube and add closed captions)
Zoom Live Trainings
Zoom Tutorials
How to Zoom YouTube Videos
Zoom website: http://go.augsburg.edu/zoom
http://go.augsburg.edu/zoomhowto
Last Modified: 2018/07/31
|