|
How do I create and share a VoiceThread? (Faculty/Students)
Posted by Nathan Lind on 11 November 2015 12:04 PM
|
This tutorial will explain how to create and share a Voicethread with others. Have a PowerPoint ready to convert into a VoiceThread before starting this tutorial.
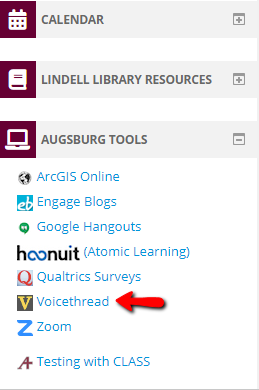
- Click "VoiceThread" in the Augsburg Tools block in any of your Moodle courses.
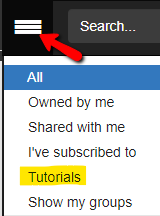
Note: Voicethread tutorials are available (allow about 10 minutes to go through all the tutorials).
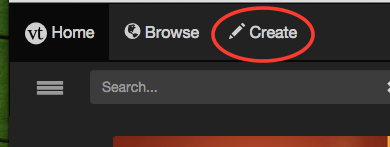
- Click "Create"
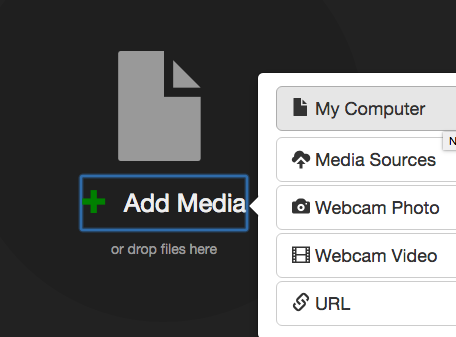
- Click "Add Media"
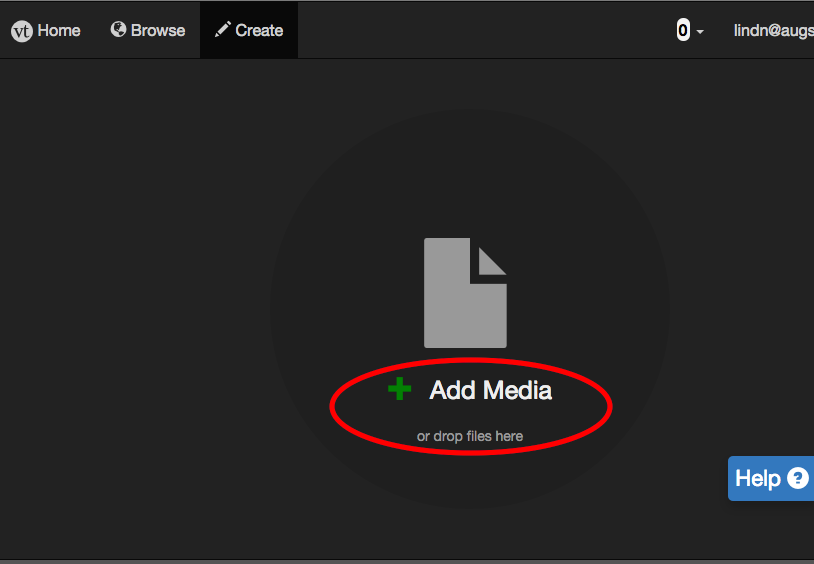
- Select "My Computer" if you have a PowerPoint or images to upload. Select other options to explore what is possible in VoiceThread.
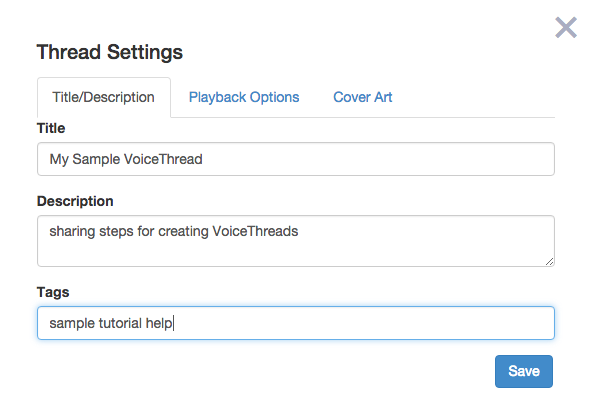
- Name your VoiceThread, enter an optional Description and tags, then click "Save."
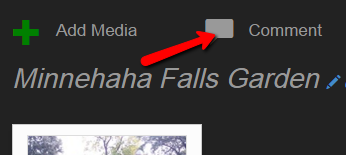
- Select a slide and click "Comment".
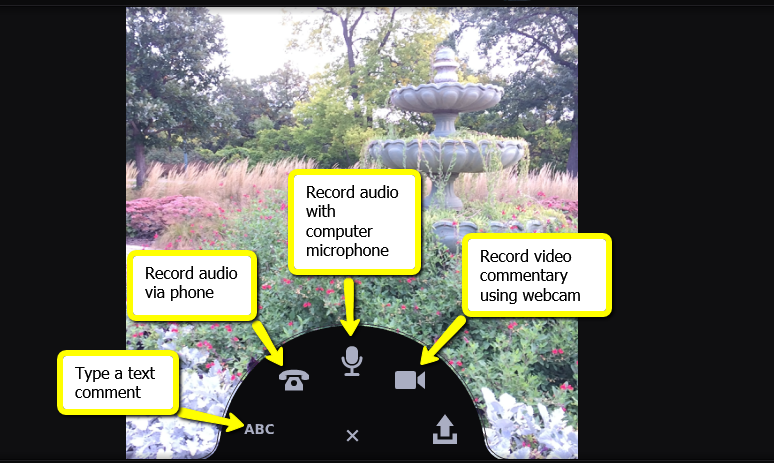
- Click the microphone icon to add audio/video/text comments to your slide.
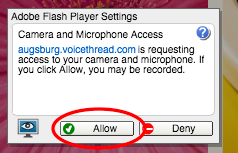
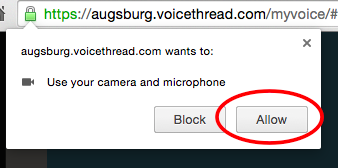
- Click "Allow" for the Adobe Flash Player to let VoiceThread use your microphone and/or webcam. Click "Allow" for the browser security prompt to add audio/video/text comments to your slide.
- Record your comment, then click "Stop Recording".

- Voicethread will play back your recording. If you want to save it, click "Save" to save your recording (or Cancel to record again).
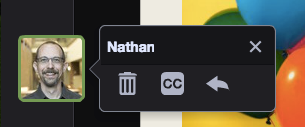
- Your avatar icon appears next to your current slide, showing you have successfully created a comment on this slide. The three options available are trash, close caption, or Insert a Direct Reply. If satisfied with your comment, move on to the next step below.
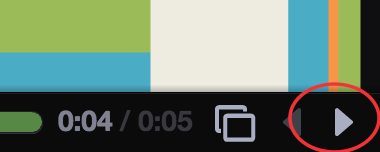
- Be sure to click the right-facing arrow in the lower right corner to move to the next slide before recording your next comment.
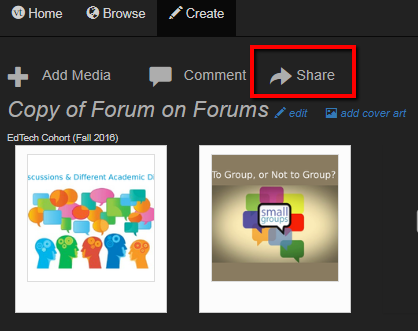
- When done adding comments to your slides, click the "share" button in the upper left corner.
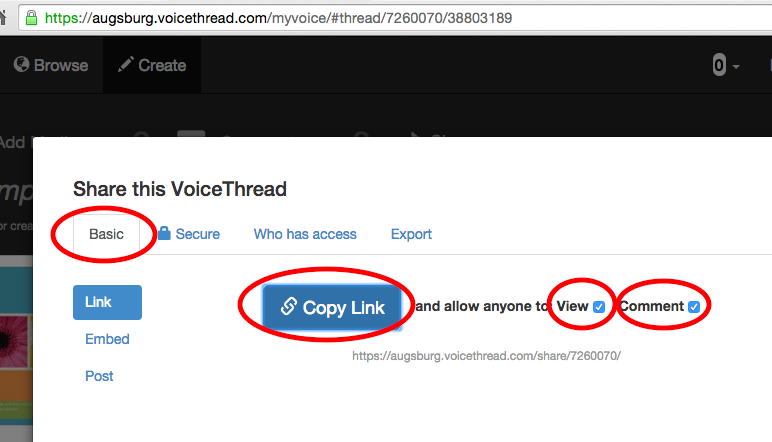
- Click the "Basic" tab, then select the "View" and "Comment" checkboxes. Then click the blue "Copy Link" button. The link to your VoiceThread is now on your clipboard ready to paste into Moodle.
NOTE: If you are a student creating a VoiceThread, this is the final step. Ignore the following--these steps are for Instructors.
- In Moodle, select the "Add an activity or resource" option in whichever Section you want your VoiceThread.

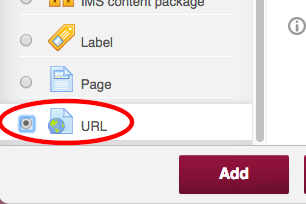
- Select the "URL" option at the bottom of the list of Resources.
- Fill in the VoiceThread name, paste in the VoiceThread link you just copied to your clipboard, select "New Window" under Appearance, then click "Save" at the bottom.

Other VoiceThread Tutorials:
(keywords: VoiceThread, hybrid, forum, comment)
|
|